Step 1: Cut 1" by 7" strips of paper from a brown paper grocery bag.
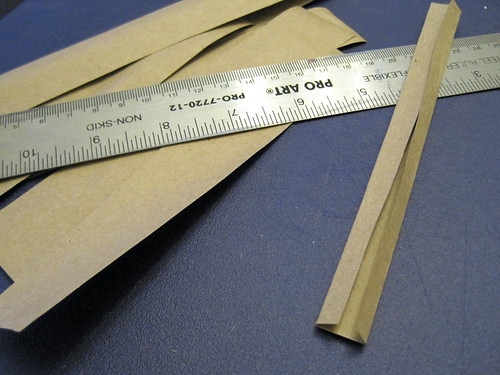
Step 2: Fold the edges in to the desired width for your bead. (Note: I recommend gluing the edges down to make it easier and less frustrating to roll the paper).
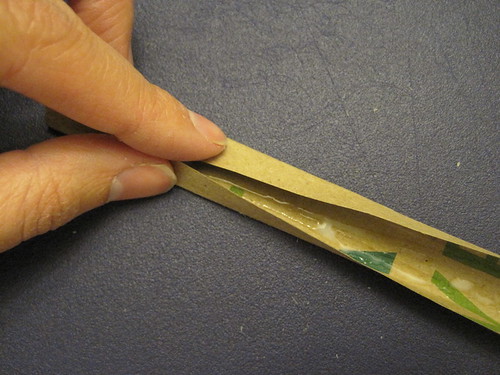
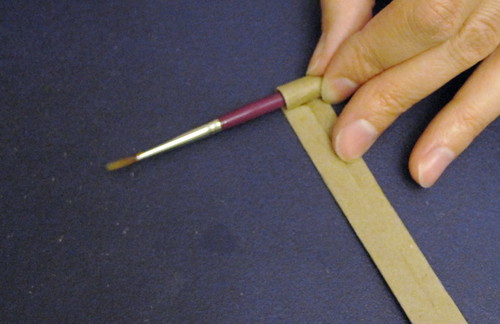
Step 3: Wrap paper around a knitting needle, paint brush, or any thin, sturdy object. Lay it on the table to roll bead as tight as possible. Put glue on the last 1/2" of the paper strip and finish rolling. Hold for 30-60 seconds to let glue set (I used Elmer's glue) and slide paintbrush or needle out from bead
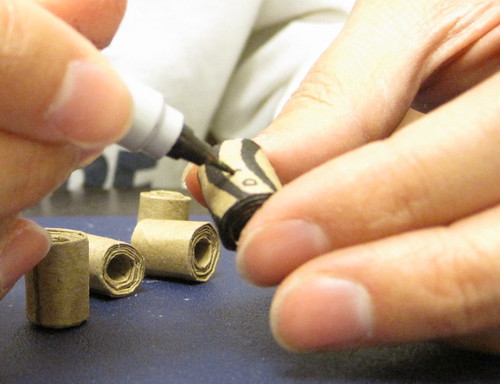
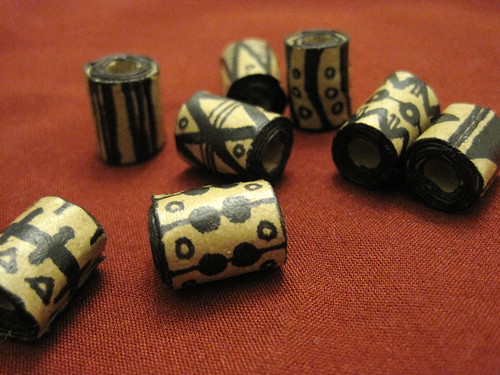
Step 5: Use a permanent marker to color in the end of the beads and to create designs.
Step 6 (Optional): I painted a layer of Modpodge over the beads to help protect them and make them more sturdy.
Step 7: Make a necklace or bracelet! Go to my Etsy site to see the finished product!


what a smart smart blog entry! Good stuff. So artsy fartsy you are!
ReplyDeleteYou're so patient with your work. I could never do it.
I'ma go check out the necklace now.
Love!